
You would have to know the Chat Box is not it? if you don't know what the chat box, in session this time I will discuss how to make a Chat Box on your blog via shoutmix. for those who already know and think this article is stale, I'm sorry for this article was made for beginners / newbier in the world of bloggers. Chat Box Functionality of this is to make you closer to friends who visit your blog, via the chat box is you and friends can be fun chatting. All right then straight to the core of the problem we discussed.
The tutorial steps as below:
1. Login to your account at http://shoutmix.com, for those who don't have already an account please register first.
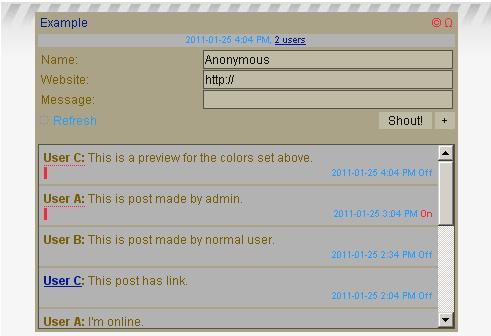
2. After you login, look at the column Display then continues to select Style & Colors. See the picture below:


0 Comments:
Post a Comment